
There are some cases when running our Configuration Software, in certain circumstances require that the local network be bypassed entirely and to connect the laptop directly into the Just Add Power switch in order to fully succeed.
- AMP VLAN: Last Port of First Switch.
- AMP Multicast: Any Port within the Dedicated Vlan.
- JADConfig: Port 1
When this happens, it is also necessary to assign a Static IP address to your laptop, as a DHCP Server will not be reachable to properly assign your computer an IP address.
The Static IP address you assign must be in the same IP subnet as the local network and control system processor, and must be different than the local network router IP address, and the IP address you plan on assigning to the Just Add Power switch. Additionally, you must set your Default Gateway as the router's IP.
|
|
||||||||||||||||||||||||||||||||||||
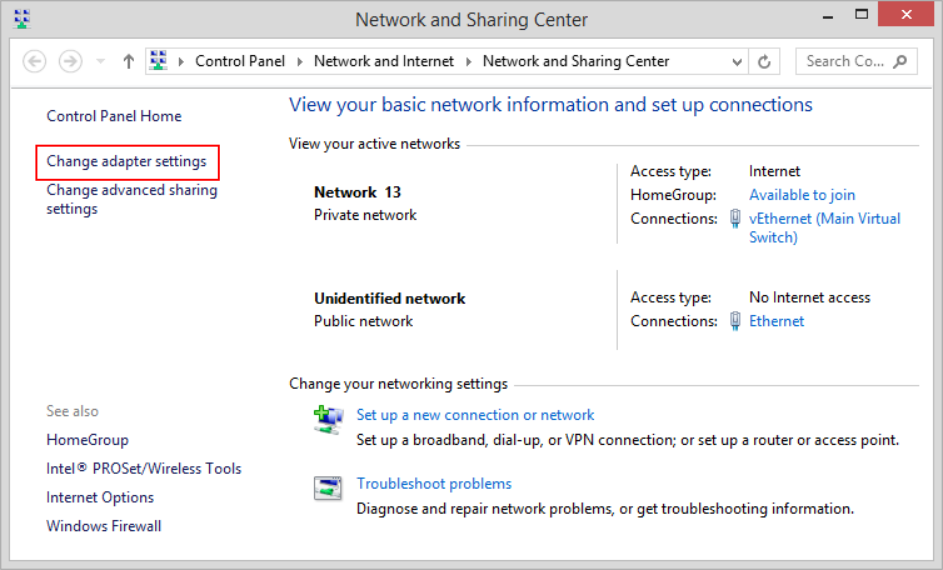
Step 1) Open your "Network and Sharing Center"
Right-click on your Network icon located in your Windows System Tray (lower-right corner of your display), then select "Open Network and Sharing Center"
 |
 |
Step 2) Click on "Change adapter settings"
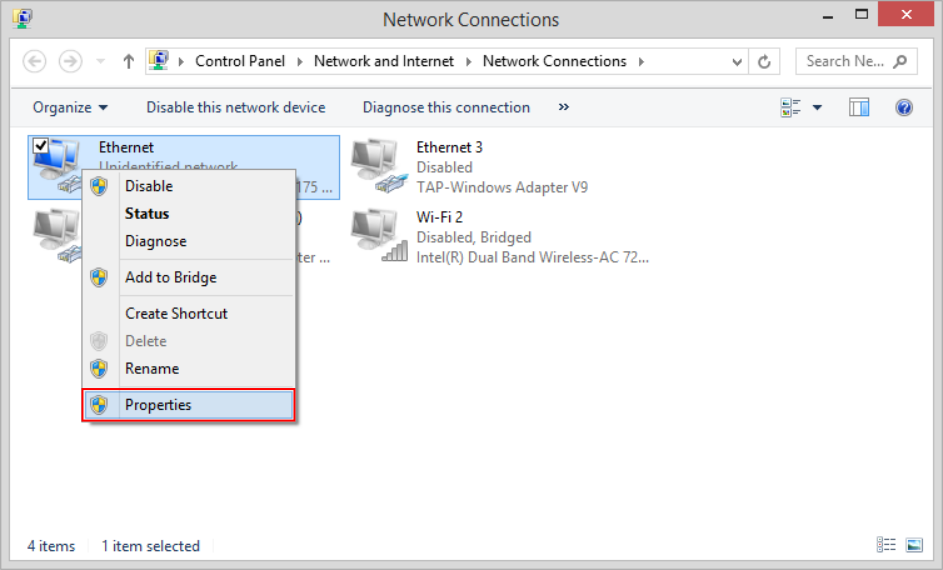
Step 3) Right-click on the Wired adapter connected directly into the control port of the Just Add Power switch, then choose "Properties"
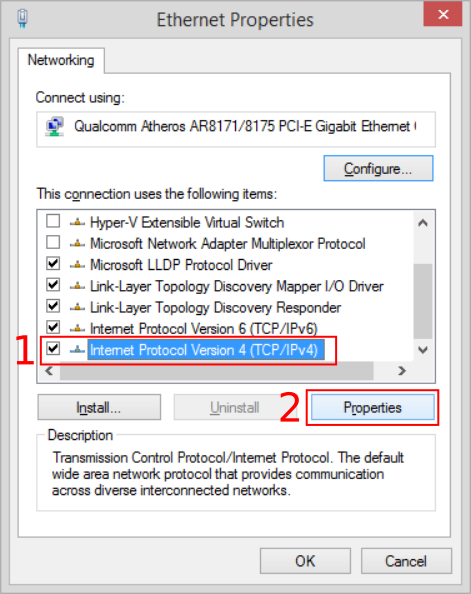
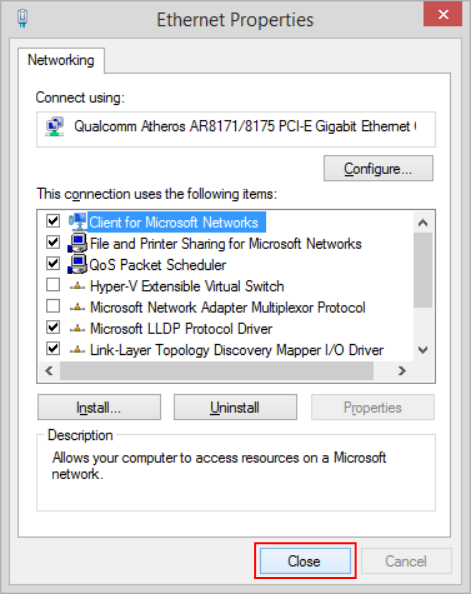
Step 4) In the Ethernet Properties window scroll down to select "Internet Protocol Version 4 (TCP/IPv4)", then click "Properties"
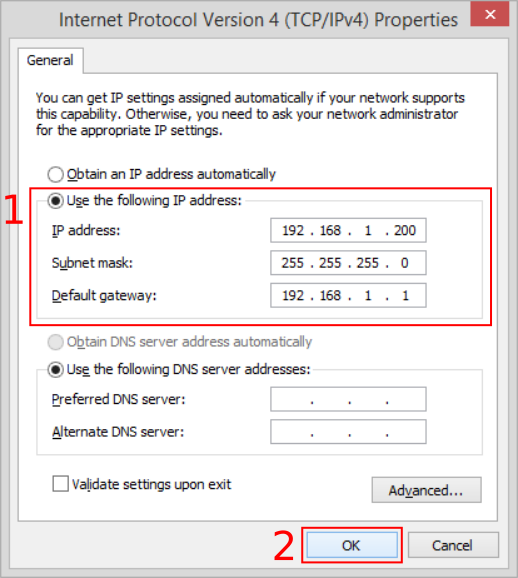
Step 5) In the IPv4 Properties window, select the option for "Use the following IP address", enter the appropriate IP address, Subnet mask, and Default gateway based on your system, then click "OK"
Note: You must enter all three fields. The IP address you choose must be in the same subnet as your local network, and must not be the IP address you plan to assign to the Just Add Power switch (refer to the Examples at the top of this Knowledge Base article if needed)
Step 6) In the Ethernet Properties window, click "Close" to apply the changes
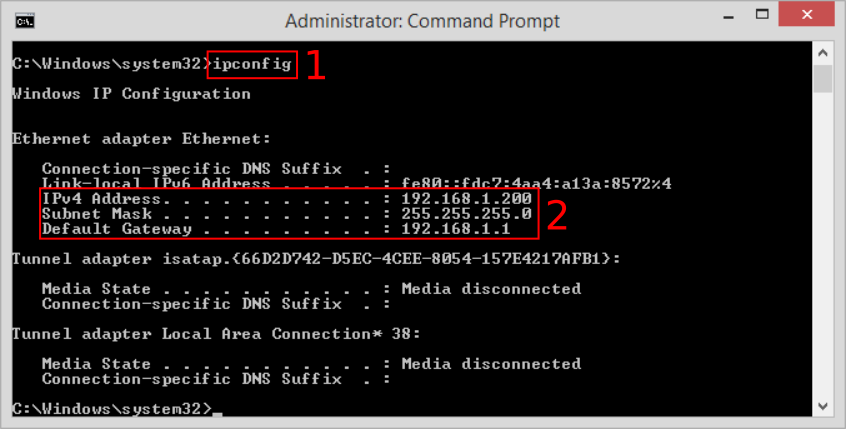
Step 7) Confirm the changes have been properly applied
Open a Windows Command Prompt, then type "ipconfig"
Confirm that the IP address, Subnet mask, and Default gateway match the settings you applied, and that there are no other IP address settings present.
Step 8) If you have not already done so, you may need to Disable All Network Adapters other than the Wired connection directly into port 1 of the Just Add Power switch.

